
The Jetsons Devices analyze the active streams and create alerts according to the rules and conditions configured. These rules trigger Alerts that can be seen on the Alert Monitoring page.
Location Hierarchy & Navigation
The Devices page features a Location Hierarchy Tree on the side panel, allowing you to organize your devices based on their "Physical Location".
Filtering by Location: Clicking on a specific location in the tree acts as a filter. The Devices table will update to display only the devices physically in that location and all its sub-locations.
Organizing Devices: To change a Device's location, simply drag and drop the device within the tree structure to a new folder in Edit mode.
Device Information
The table shows each device's connection status, Health status, Created date, and how many Streams it has.
Health Statuses:
Healthy
UnHealthy
Unavailable

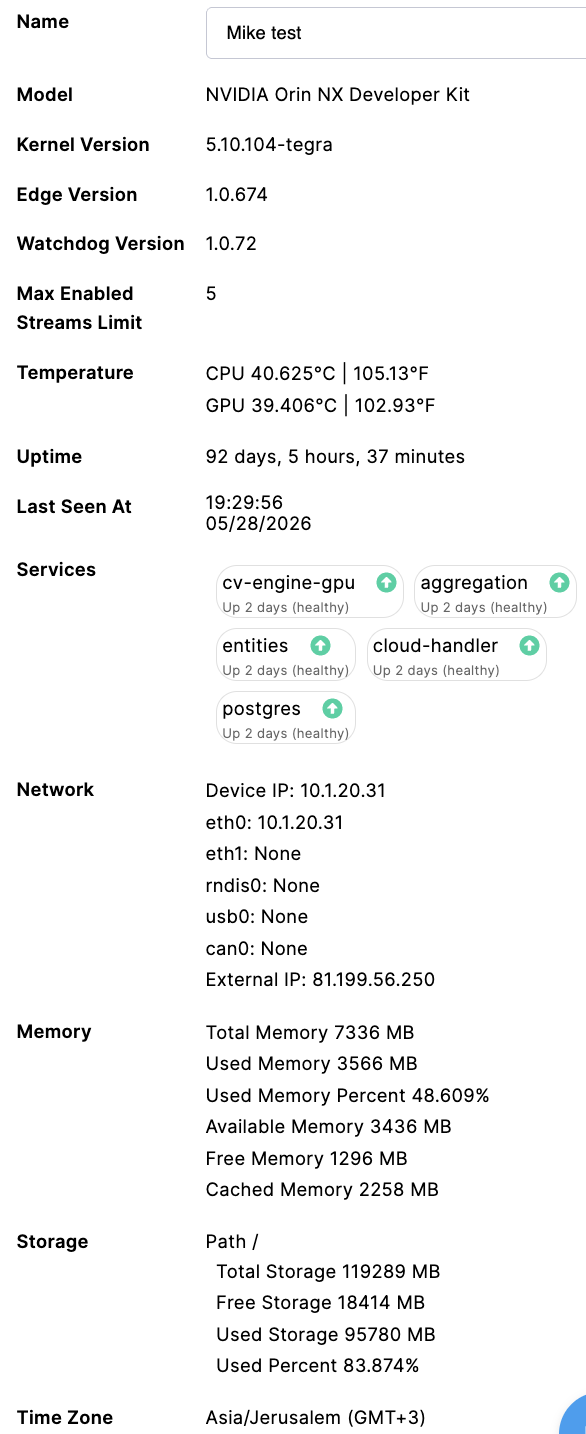
By selecting a device its information will be displayed on the right panel you can see all the relevant information about your device
Name Of Device
Model
OS Kernal Version
Edge Version
Watchdog Version
Max Enabled Streams Limit
Temperature
Uptime
Last Seen
Services Status
Network
Memory usage
Storage usage
Time Zone
Add new Stream(s)
Devices can locate IP cameras on the network using ONVIF Discovery or you can enter camera details by manually setting up the connection details of the streams.
Click on the Add Streams Icon of the desired device

Then a camera enrollment wizard will open, you can choose between Discover IP cameras or manually add cameras with RTSP URL
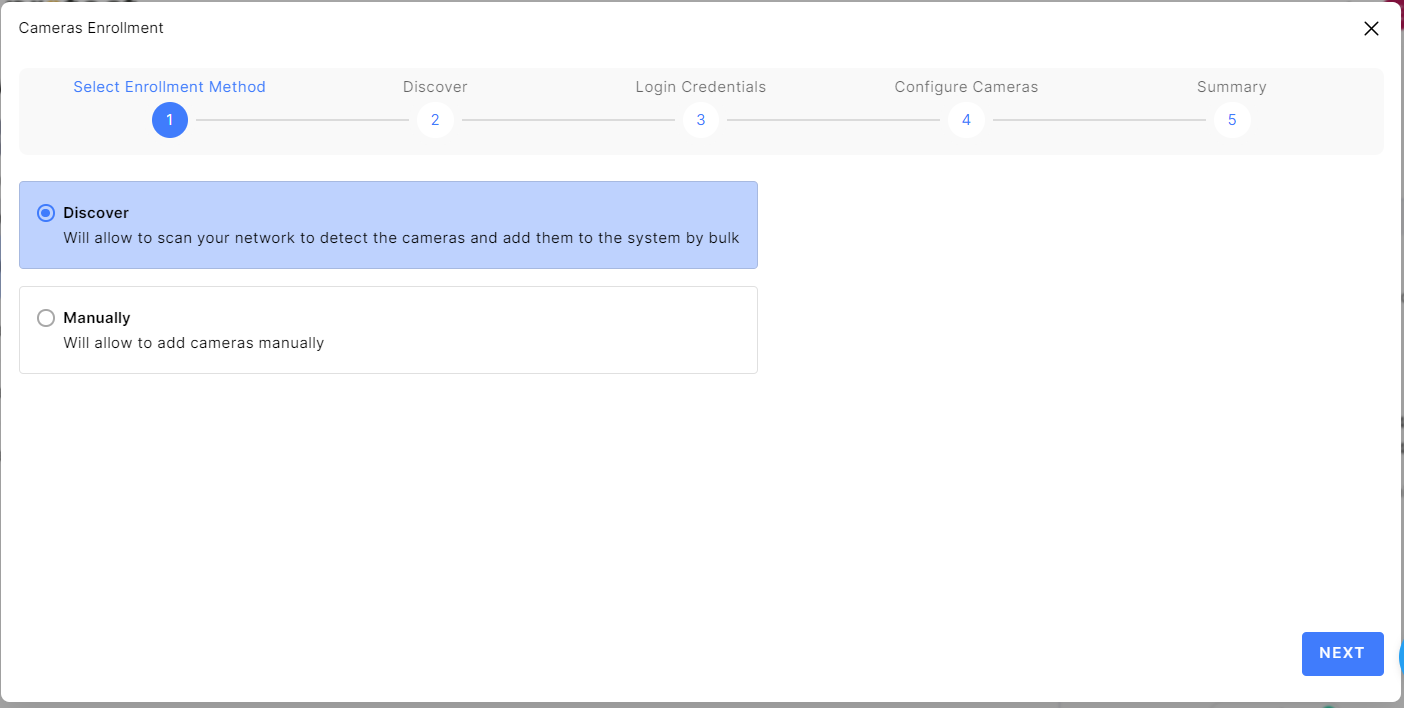
Discover flow
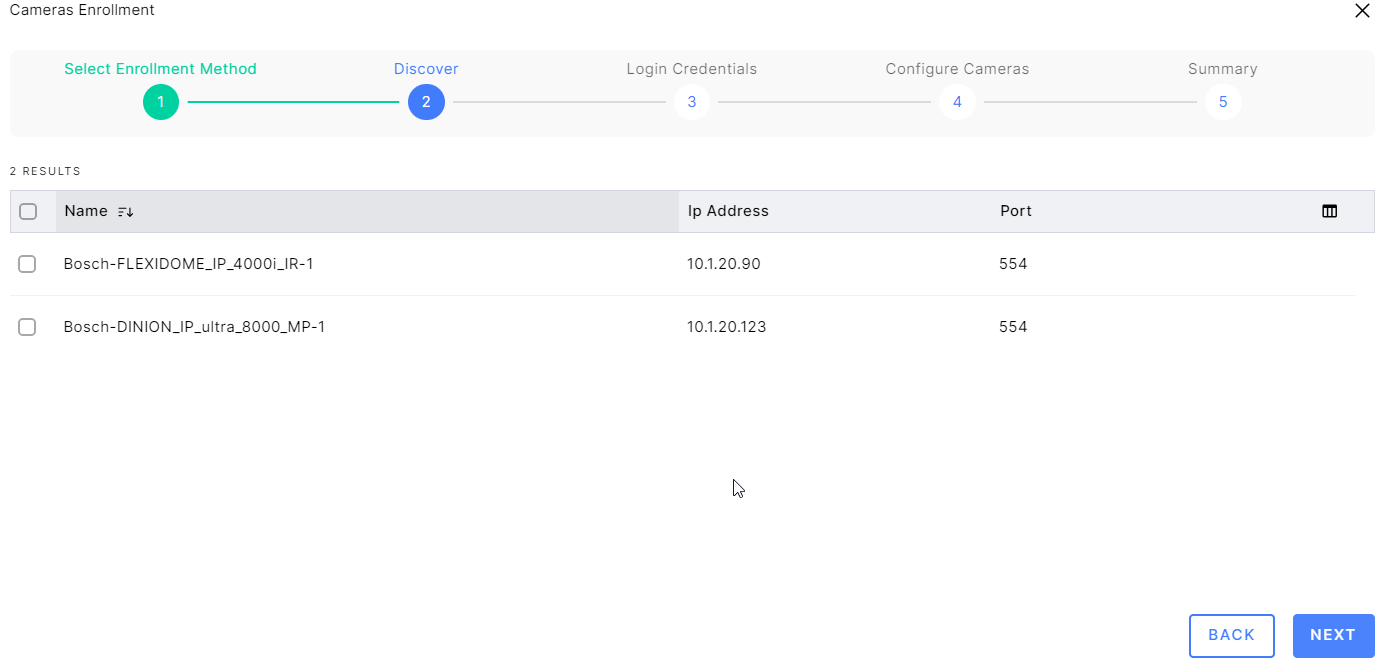
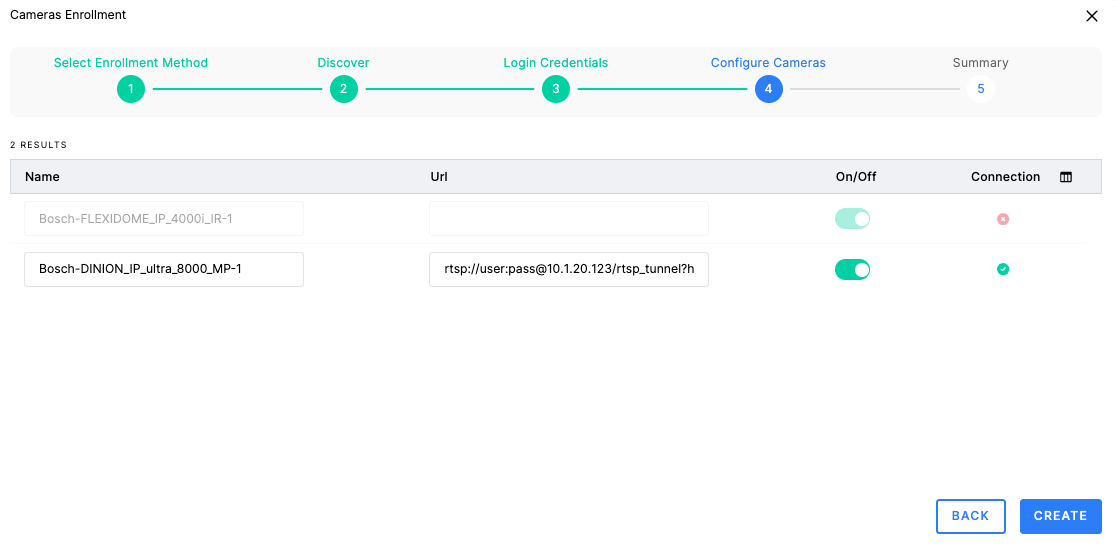
After choosing Discover flow, the device will start searching for IP cameras on your network, when cameras are discovered you will see the name, IP, and port of the cameras, you can choose one or more cameras and continue At this stage, you need to insert the User name and password for the cameras to get the stream URL
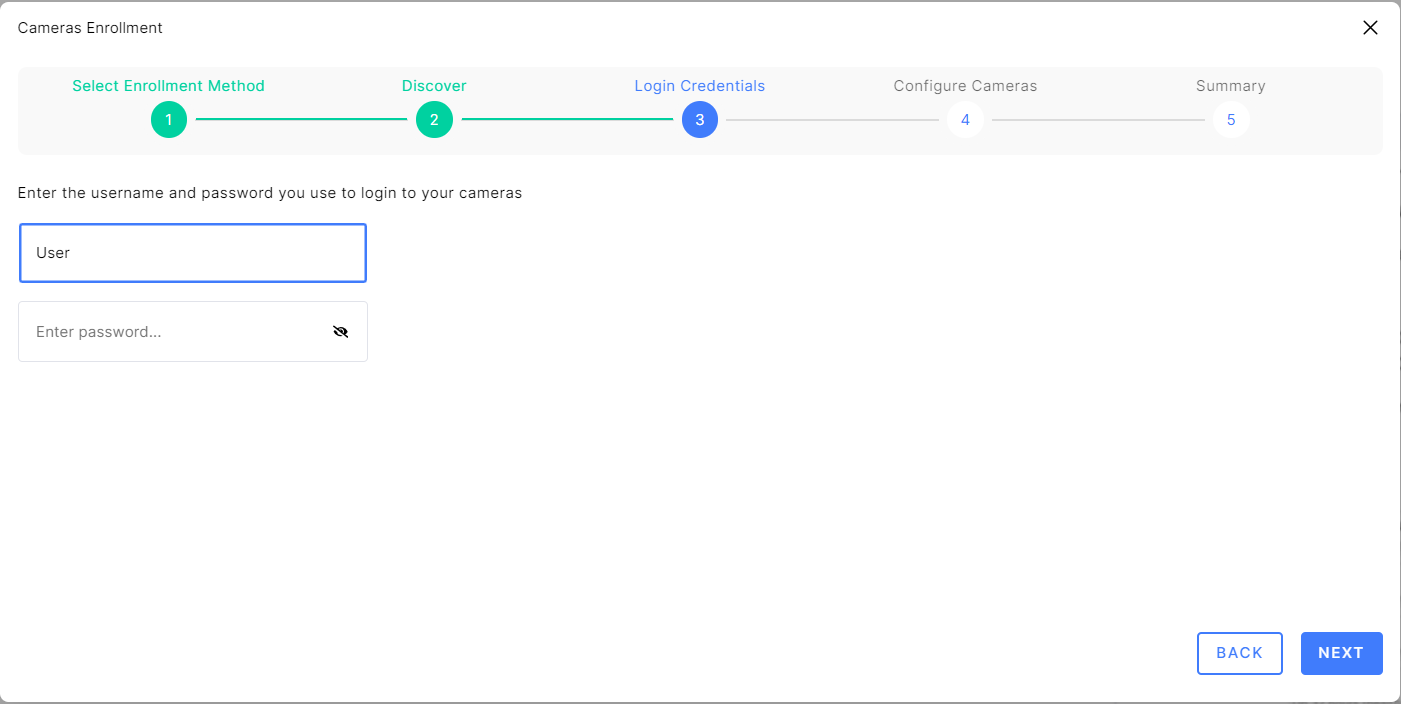
When you enter the username and password, you will see a list of cameras that you can connect to your system. The cameras that are ready to use will show a green sign on the connection status and URL. You can also change the name of the camera if you want.
Manual Flow
After choosing to use the manual flow you can click on the Add Camera button to add cameras
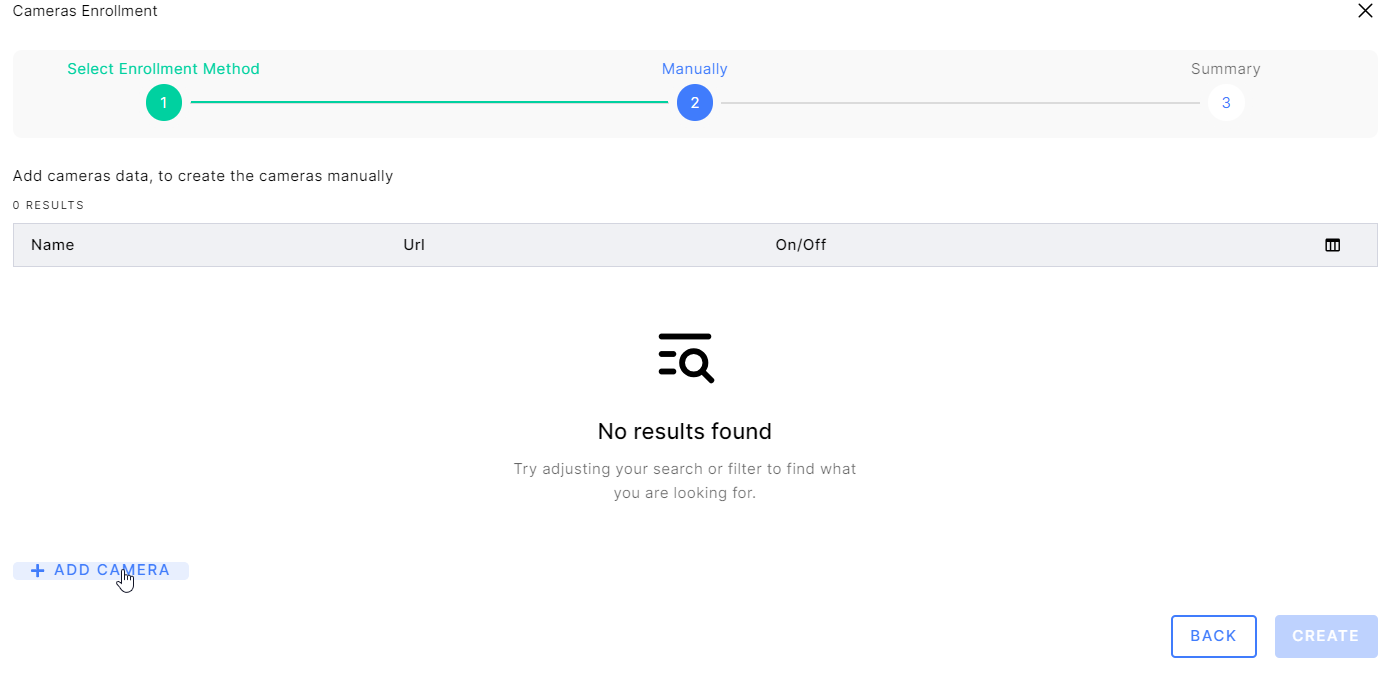
Now insert the Stream(s) name and Stream(s) RTSP or RTMP URL, and click Create or click on the check connection status icon to check the connection to the Stream

if so the connection status will be green.

With Streams added to the system, you can monitor the connection health, see a live preview of the camera on the "Streams" page, and make rules to trigger alerts on the "Rule Engine"
Removing a Device
If you are Administrator, you can remove a device from your account at any time (unless it is actively in the middle of "Provisioning"). This will delete the device from your Protect system and wipe his configuration.
Locate the Device: Find the device row in your list.
Hover: Move your mouse cursor over the row. A Remove button (trash can icon) will appear.
Click Remove: Select the button.
Confirm: A confirmation popup will appear asking: "Are you sure you want to remove [Device Name]?"
Finish: Click Yes I’m Sure. The device will be immediately removed from your list.